This guide will walk you through printing multi-color or multi-material models on dual extrusion printer.
Add the models
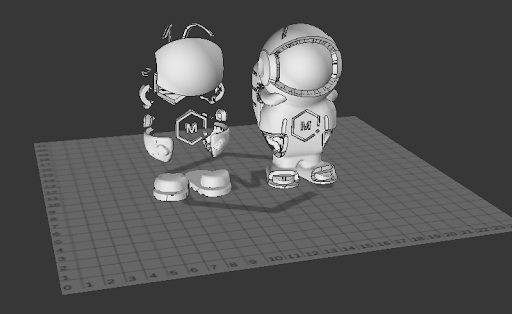
Multi-color models are typically distributed as a set of separate STL files. Each STL represents the part of a model that is a certain color. Start by adding each of the models to your scene. In this guide we will be using the dual extrusion version of Phil A. Ment as an example. You can download the files for him at MatterHackers.com. Phil's body will be one color, but his face, shoes, logo, etc. will be another color.
Choose Materials & Colors
Select one of the models and a pane will appear on the right side where you can choose the material and color.
The material selection lets you choose which extruder will be used for printing that model. The default is extruder 1.

The color selection is purely for aesthetics. It only changes how the model appears in MatterControl and has no bearing on how the model will be printed. Nevertheless, you can use it to get a better sense of what your final print will look like.

The View Style menu will let you switch between the materials view and the colors view.

Align the Models
Now you must merge the models together into one object. To do this, we will use the Align tool.

Select both models and then click Align button in the toolbar. Properly designed multi-extrusion models will share the same origin. In the tool panel, choose origin for all three axes.

Tips & Tricks
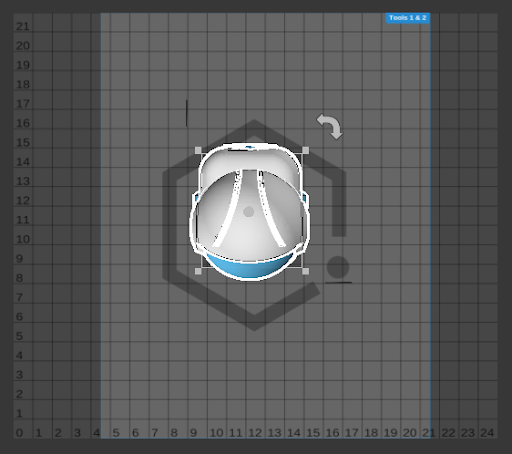
Print Area
You may have noticed that when a multi-extrusion model is selected, part of the print bed becomes grayed out. This is because, on many printers, the full build area is not available for use by both extruders. When an object is selected, MatterControl shows you which extruders are needed to print that object and grays out the parts of the bed that are not reachable by all of them.
Making Changes
After alignment, the models are combined. Changing the color or material will affect the object as a whole. However, it is still possible to make changes to the individual components if you wish.
To do this, click the arrow next to the newly created "Align" object in the design tree. This will show it's components (the original models). From here you can choose a model and give it a different color or material.
