Layer Thickness
The height of each layer of the print, except the first. A smaller number will create more layers and more vertical accuracy but also a slower print.
The Layer Thickness is exactly that – the height of each individual layer of plastic that will be printed. Most FFF style 3D printers offer layer heights between .1mm - .4mm. Don’t know what height you should print at? This picture shows the difference between various layer heights.

It’s difficult to see layer lines at .1mm whereas the layer lines are plainly visible at .35mm. With these frogs, the .35mm frog took approximately 40 minutes to print. The .1mm frog took 3.5 hours. The first thing you need to decide is what surface quality do you want. If you want a high quality, smooth finish, you will need to print small layer heights. If surface finish isn’t important and you want to print quickly, larger layer heights work great.
If you’re unsure of what height to start with, .20mm offers a good combination of surface finish and print time for most prints.
It’s important to note that low layer heights (< .15mm) require excellent bed leveling and machine calibration in order to successfully print.
Recommended Baseline: 0.2 mm
Units: millimeters (mm)
Warning: The layer thickness cannot exceed the diameter of your nozzle.
First Layer Thickness
The thickness of the first layer of the print. A first layer thicker than the default layer height can ensure good adhesion to the build plate, since it means more material will be extruded and more material provides more bed adhesion. A thicker first layer also allows for more variation in the height of the bed.
Recommended Baseline: 0.3 mm
Units: millimeters (mm) or percent of normal Layer Thickness (%)
Perimeters
Perimeters are the loops that form the outer walls of your print. These are sometimes also referred to as shells. This cube has 3 perimeters.

Perimeters bear most of the load that an object is under. Adding more perimeters will make a print stronger than increasing the fill density.
Perimeters are generally printed at a slower speed than infill. Often, most of your print time will be spent doing perimeters. You may consider using fewer perimeters to speed up the print.
This can be specified as count or as thickness in millimeters (mm). For instance, if you set the perimeters to 1.0 mm, then enough loops will be created to make the walls 1 mm thick.
Recommended Baseline: 3
Units: count or millimeters (mm)
Top Solid Layers
These are the layers that form a solid surface on the top of the print.
If you are using thinner layers then more top layers will be required to form a solid surface with no gaps. For this reason, we recommend specifying a thickness in millimeters (mm) instead of a number of layers.
Recommended Baseline: 0.8 mm
Units: count or millimeters (mm)
Bottom Solid Layers
These are the layers that form a solid surface on the bottom of the print. Generally fewer bottom layers are required than top layers, since the bottom layers do not have to bridge over the infill.
Recommended Baseline: 0.6 mm
Units: count or millimeters (mm)
Fill Density
3D prints are hardly ever done completely solid. Instead, they are partially hollow with a pattern on the inside. This inside area is called the infill. You can choose the density of the infill pattern, from 0% (completely hollow) to 100% (completely solid).

More infill will make a print stronger, but it will also use more material and take longer to print. Generally it is advised to use as little infill as possible. Most parts will be fully functional with about 10 - 15% percent infill. For very large prints you should try to go even lower than that.
Usually to have a strong part, you only need about 35% infill. In general, there isn’t much strength benefit beyond 50%.
If you wish to make your print completely solid, we do not advise going above 85 - 90% infill. Beyond this we have noticed a tendency for prints to be overfilled. A better method for making completely solid prints is to use a very large number of perimeter loops.
Recommended Baseline: 20%
Units: percentage (ex. 20%) or decimal (ex. 0.20)
Infill Type
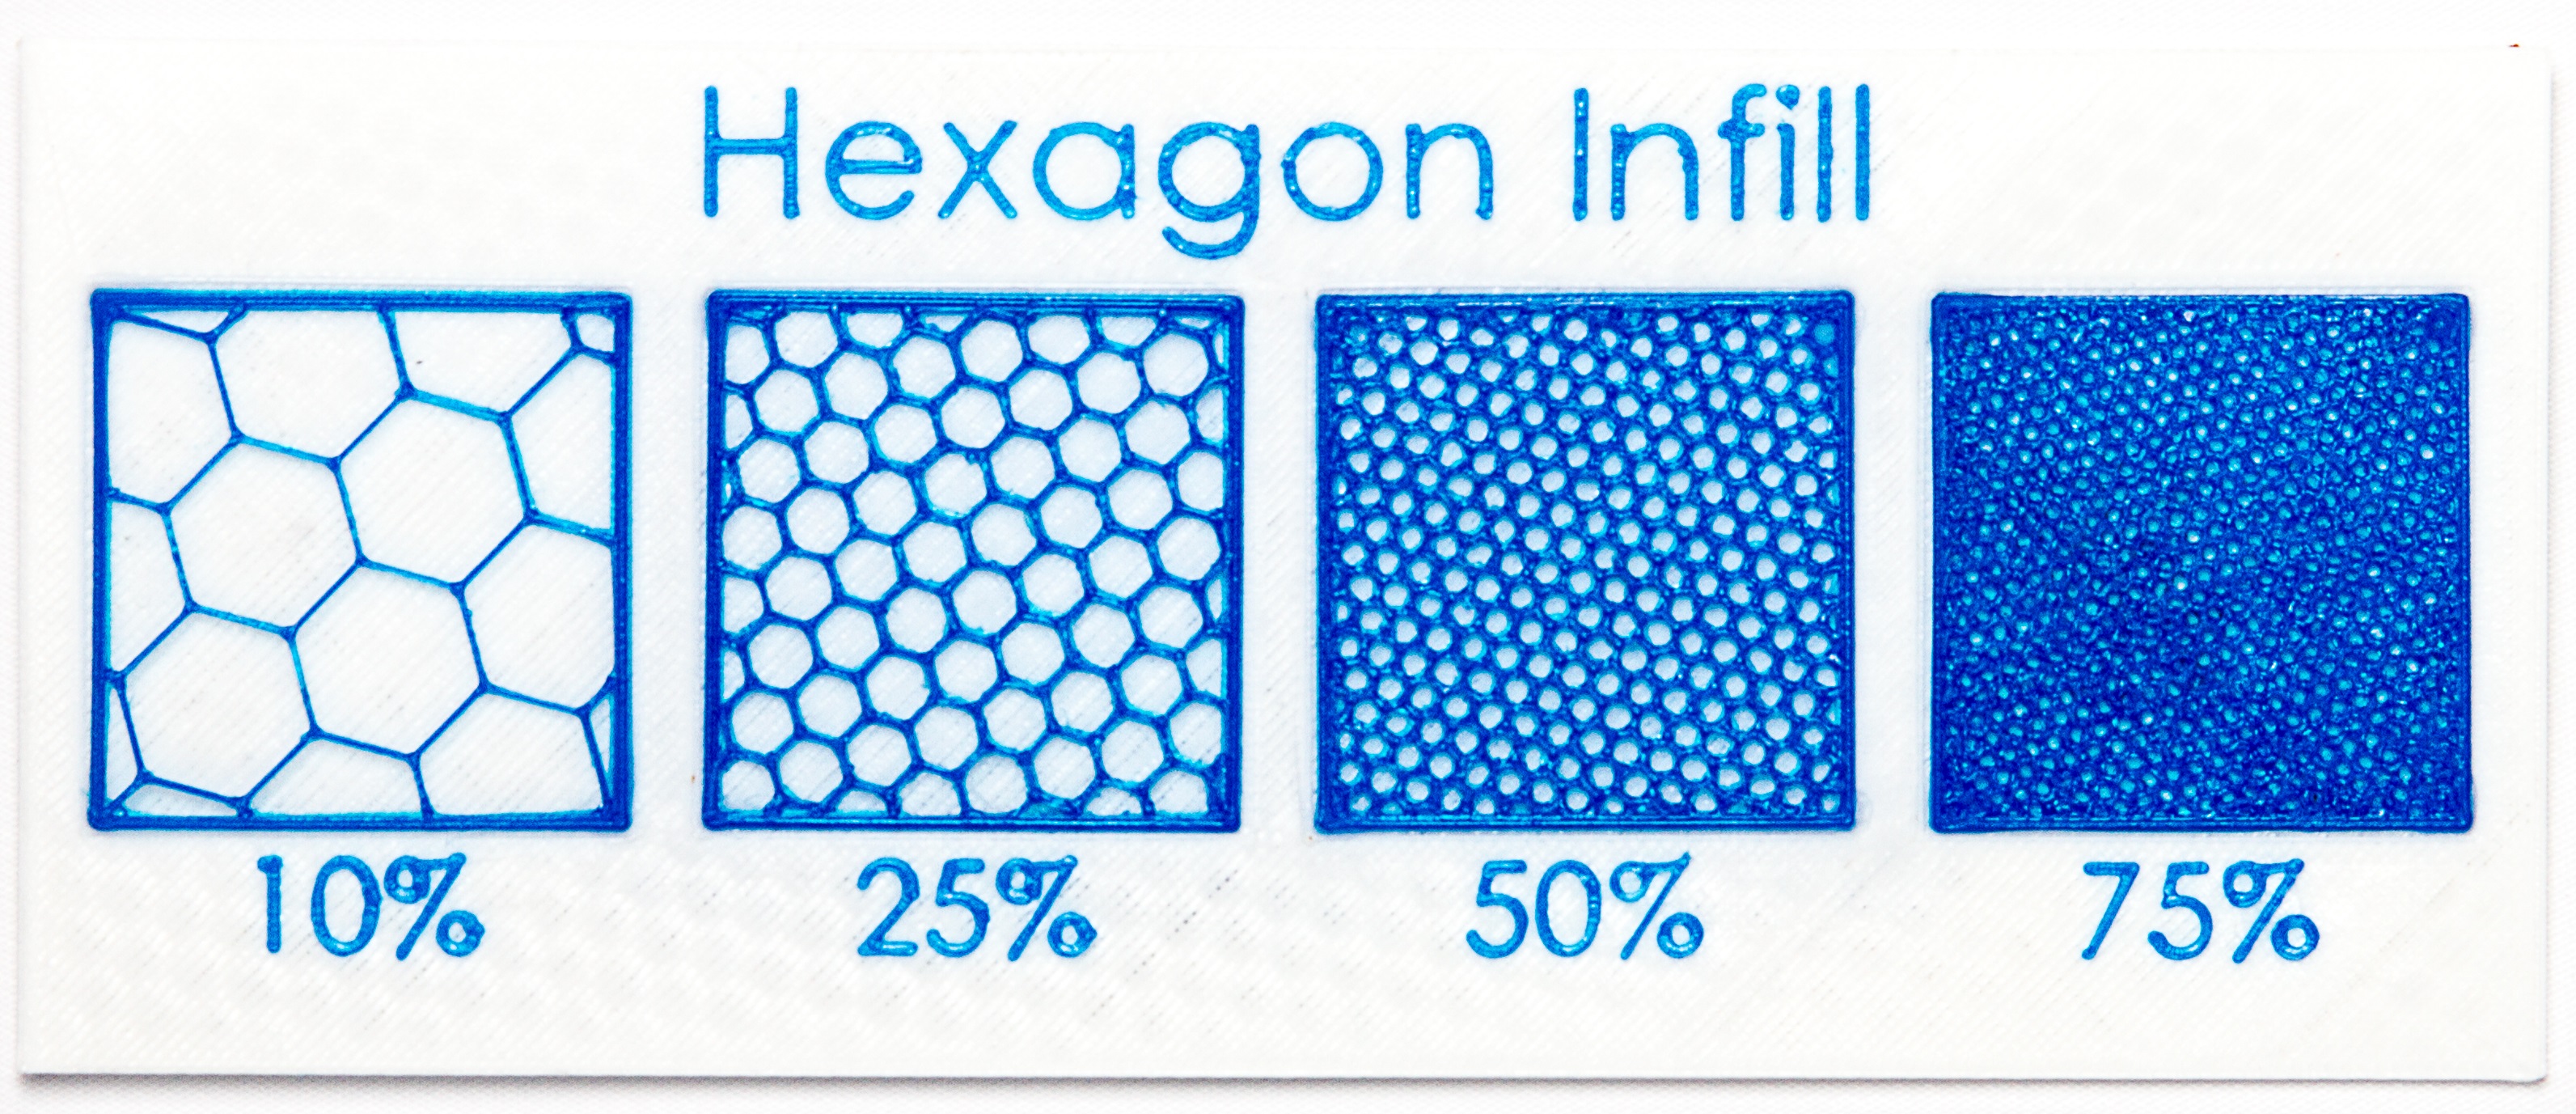
The geometric pattern used for the infill. Triangle infill uses the most efficient path, which makes it the fastest to print. It is also generally the strongest pattern. However some of the other patterns (like the hexagon) are more aesthetically pleasing. You might choose these if your infill will be visible, for instance if you are using a translucent filament. Lines or concentric infill are also better when using exceptionally high fill densities (> 50%).
This article has more information on MatterControl's optimized hexagonal infill.
Recommended Baseline: Triangles
Options:
- Grid
- Triangles
- Hexagon
- Lines
- Concentric