Image to Path
Image to Path traces the outlines of an image to create 2D paths. These paths can then be extruded, revolved, or used with any other path operation. This is ideal for converting logos, silhouettes, and simple graphics into 3D objects.
How to Use
- Select an image object in your workspace
- Apply Image to Path from the Image operations menu
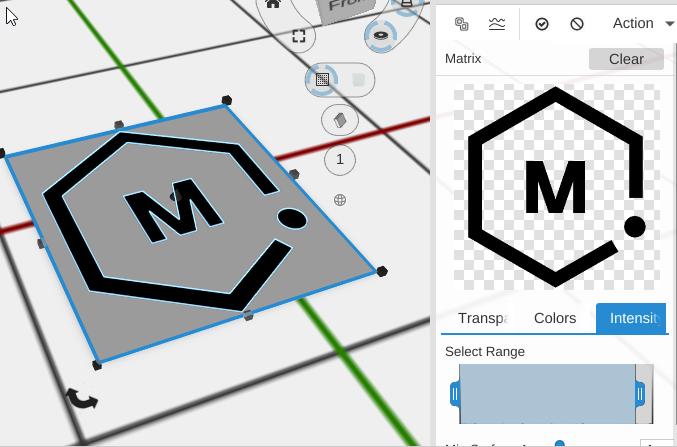
- Choose the analysis type and adjust the selection range
Parameters
- Analysis Type - How the image is analyzed for tracing:
- Transparency - Trace based on transparent vs opaque areas (best for PNGs with transparent backgrounds)
- Colors - Trace based on color regions
- Intensity - Trace based on brightness levels (best for most images)
- Select Range - A histogram control to select which brightness/color values to include in the trace
- Min Surface Area - Minimum area for a path loop to be included. Increase to filter out small noise artifacts
Tips
- Clean, high-contrast images with simple shapes work best
- Use Transparency mode for PNG images with transparent backgrounds
- Use Intensity mode for photographs and images without transparency
- After tracing, apply Linear Extrude to give the path height
- Increase Min Surface Area to remove small unwanted details from the trace
Related
- Image Converter - Create height-map relief instead of flat paths
- Lithophane - Create backlit image displays
- SVG Object - Import vector graphics directly (no tracing needed)
- Linear Extrude - Give the traced path height